
I am very happy with how it turned out. Some of the parts that I put marbled paper on got wrinkles in them so I was worried. I wanted to show you where it goes.


Slowly but surely I am getting the tray for the flat casket done. I cut some pieces of the edging tape to go around the edge of the tray.
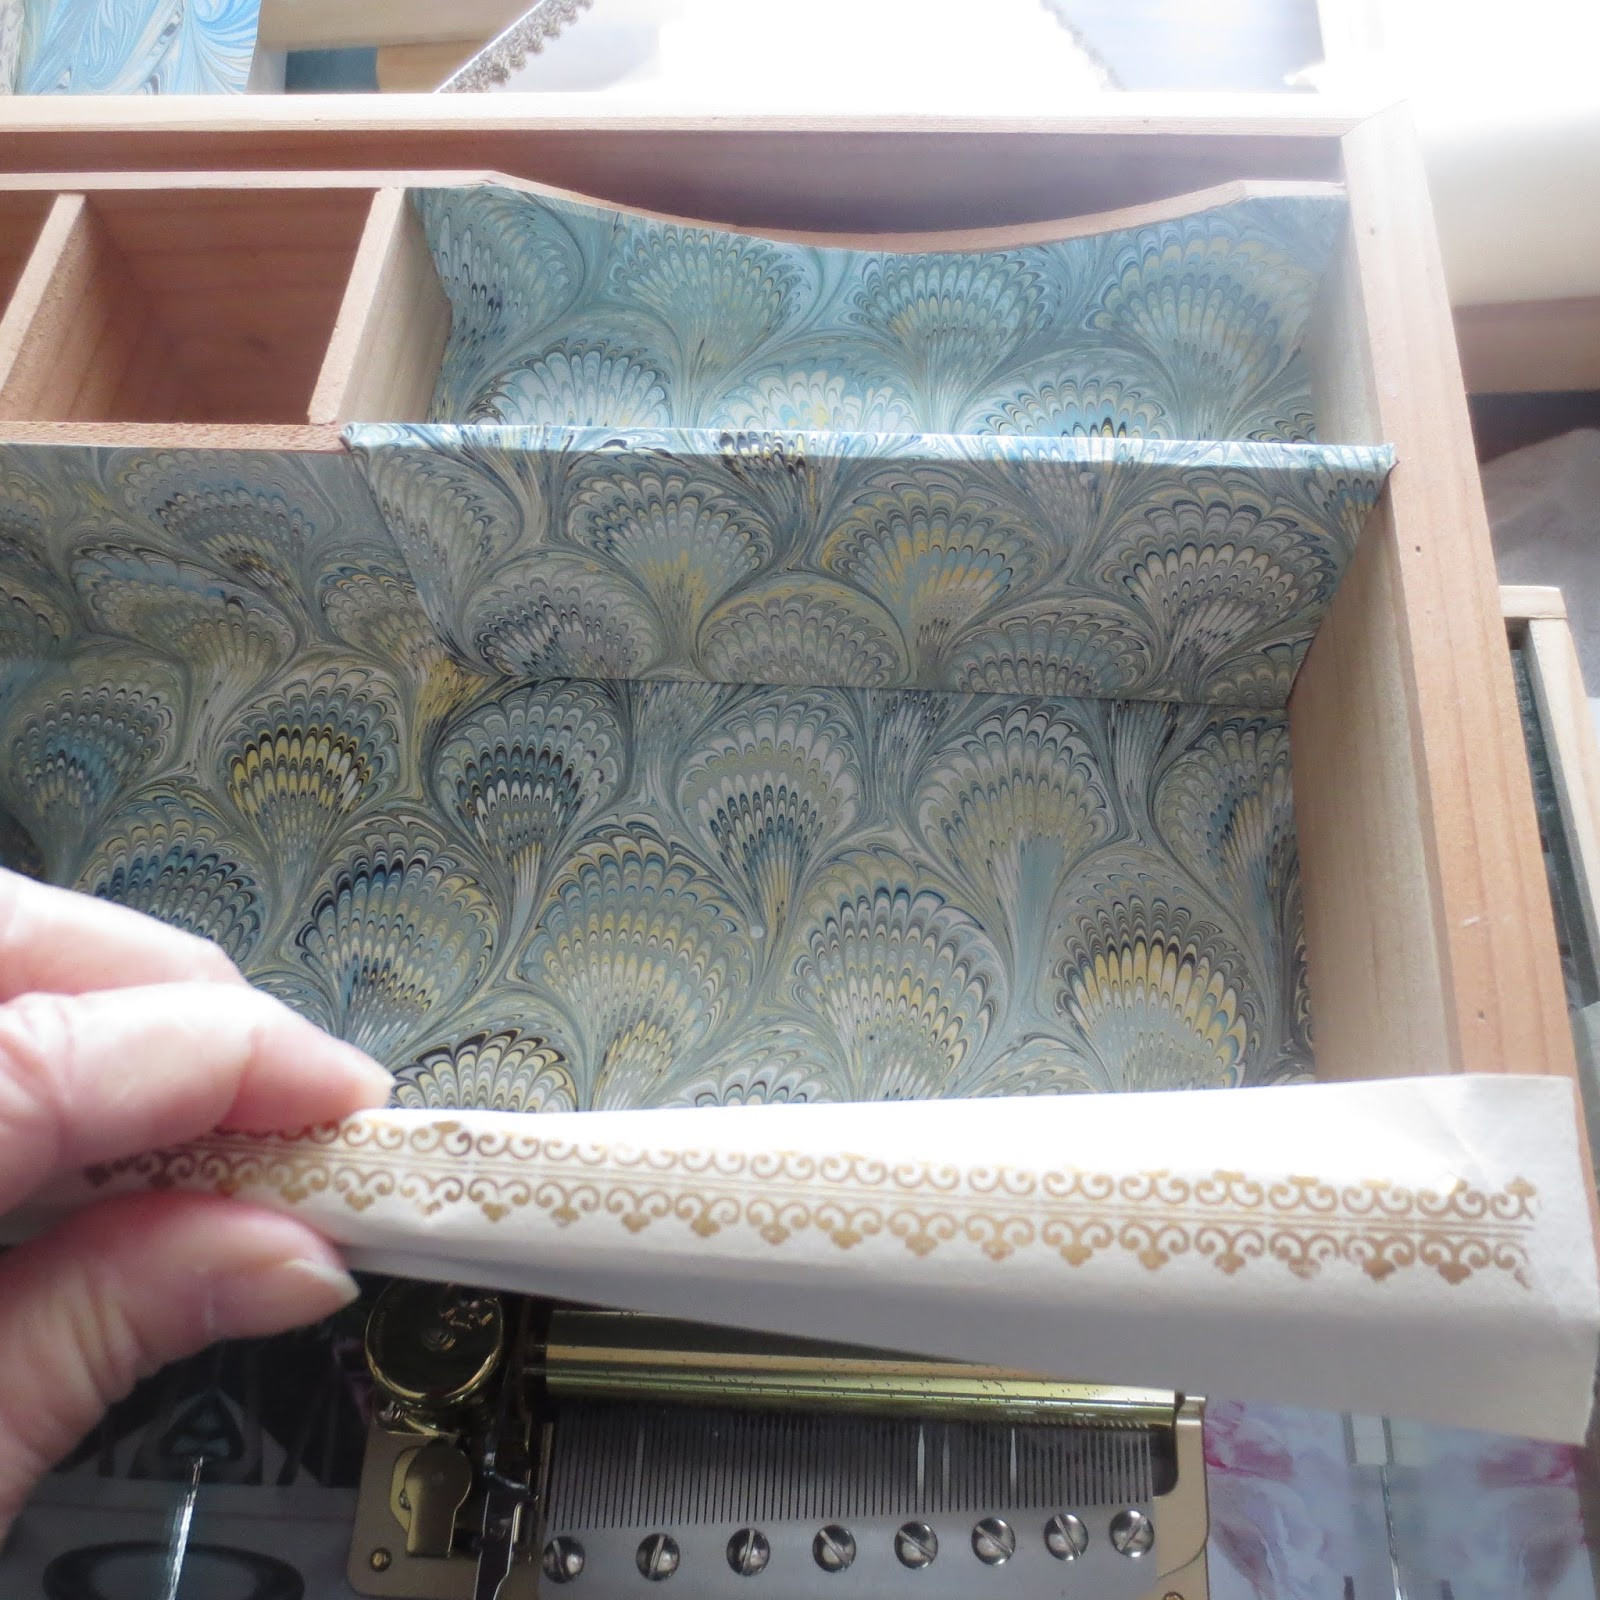
Then I can put marbled paper on the sides of the tray.
Next I want to finish the pin cushion tray that has another secret drawer.


Things are going badly with the last motif of panel three of the Quaker Bag. I was off and had to take out a lot. So I put in some basting stitches to show me the center so I could work out from there..

I stitched a star in the center and them realized the basting stitches were off! ARGH. Ripped some more. I think I have the perimeter all set but now the flower stem is not fitting like it is supposed to. ARGH. I'm about ready to just leave in all the mistakes. Maybe I need to start on another piece for now.
On a brighter note, I am tickled pink that I have one side pasted to my casket.

It makes me want to get more done.
A
Fabulous! The secret drawer and the casket side looks really good.
ReplyDeleteWow the secret drawer is looking lovely and casket is awesome xx
ReplyDeleteThe 3 queens look beautiful!
ReplyDeleteBeautiful work!
ReplyDeleteLooking good Amy. Spent the day with your BFF#2!
ReplyDeleteThe casket is coming along nicely.
ReplyDeleteThat marbled paper is so pretty.
Maybe put Q bag away for a few days and work on something else?
Marilyn
Stitching the pieces is one thing but the finishing is quite an achievement! Love the three queens!
ReplyDelete